Showing posts with label crochet. Show all posts

12 July 2011

Hats!

I made these a loooong time ago... as in over a year or two ago. :) I just realized I'd never shared them on the blog!

They are all crocheted by me. I grabbed my lil sis Adelynn to help as a model. Enjoy!


This one is my favorite-- I wear it all the time!


11 September 2010

Wire Crochet

Some more wire crochet! [LINK]

15 August 2010

Random LIttle Things

This post is for some random little things that didn't quite deserve their own post but that I took pictures of, just 'cause.
A funny little chainmaille mobius.
Rings! Glorious rings! (Shooot, that Oliver Twist song is now stuck in my head...)
Funny earcuffs that may or may not work... That is, they fit me but I'm not sure if they will actually stay on. I must mess with this design some alot.
TREBLE CLEFS! Just like the Music Notes Set I made earlier. These are fun to make but they would be even more fun with a Wig-Jig.... :P :) (The Wig-Jig is a wire jewelry making thing, basically a board with lots of moveable pegs to wrap wire on.)
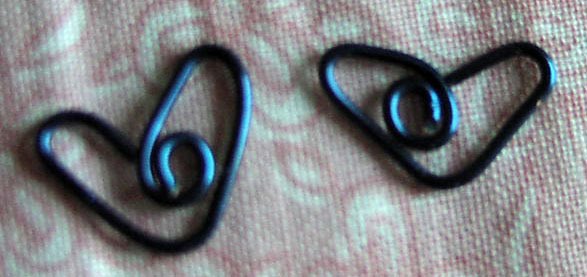
Hearts. Maybe to go on earrings. Who knows?
 A wire-crochet ring.

30 June 2010

Crocheted Baby Blanket


I made this for my newborn cousin! I got the pattern off of Ravelry. (I love that site, by the way.) It took FOREVER, simply because of its size!

21 March 2010

Tapestry Crochet

I've always been facinated with Fair Isle knitting, where different colors are switched in and out of a project, often with facinating results. Through... well, I wouldn't call it stubborness, but for some reason or another, I've never actually learned to knit. And I really, really wanted to do this Fair Isle thing.

So I learned about Tapestry Crocheting! I used THESE INSTRUCTIONS. The website has some videos that I'm sure are helpful but that I haven't watched.


I first started with a little iPod case, but I did it in the round with a complicated knitting grid and it didn't really turn out.

What you see in the top picture is a (rather poor) second attempt. I followed a knitting grid for a Fair Isle bag with a Gryffindor design on it. Crocheting, apparenlty, is much larger than knitting. If I were to finish this, it would be a banner instead of a bag. :P

The nice thing about tapestry crochet is that switching yarns is easy (provided you twist before you yo!) and it is two sided.

20 March 2010

New Gryffindor Scarf

I crocheted William a new Gryffindor scarf! I did it in double crochet (as opposed to the previous hat I made) and did it while watching the Olypmpics. Its five feet long!!!

After my first night of crocheting! Unfortuneatly I had to tear the bottom bit out, because it was too large (I had it sewed down in this picture). And I certainly didn't crochet as much the following nights.
 Why did I need to make a while new scarf when I had a perfectly good one I made last year? Was it because I wanted one for myself (which I kind do)?

No. The old one was stolen. We put it on our ginormous Mr. George Snowman. It was only supposed to stay on the snowman that day, but it got left out there and was stolen overnight. :(

14 March 2010

My First Crocheted Cardigan!

Okay, so her clothes don't match it. :) I just had her slip it on for a picture! Its also two sizes too big (the pattern didn't come smaller)

THIS IS MY FIRST EVER PIECE OF CROCHETED CLOTHING!!! And, for once in my life, I followed the pattern exactly. It is called Behop Cardi and can be found for free on Ravelry and Lion's Yarn.

I had some confusion about the gauge (it accidentally gave two numbers!), and had made a good part of it with the wrong gauge. Rather than frog (tear out) that strip, I gave it to Addie as a lacy purple scarf.

The pattern called for stitch markers, I didn't know what they were but after reading the pattern a bit I realized that it means things stuck in the yarn to mark stitches. I just used safety pins. :)

Overall, this went fairly well! Being a beginner, self-taught-by-web-browsing crocheter, I had some problems getting the hang of it. Considering I had troubles crocheting a straight line just a few months ago, I am quite proud. :) It only took four or five hours! And that is while reading/watching TV.

No buttons yet! :)

Penguin Amigurumi

What is Amigurumi? I'd wondered that myself. It is, apparently, the "Japenese art of crocheting small dolls or toys."

On the Fairy Tale Novels Fourm, I was on an adventure with Yaviel. We metamorphed into purple penguins and got kidnapped by The Boss... well, long story short, I made a penguin for Yaviel!

I'd seen some pictures of crocheted dolls on Ravelry, and thought I'd go for it. I pulled out yarn scraps and set to work! I did not follow any pattern (I didn't even know it was called Amigurumi, and had never done any pattern similar before).

I did alot of things in very ineffective ways (I have since learned how to crochet multiple colors properly. All I did was sew white ontop of the purple). But I got a very cute little three-inch penguin! :)

I think I will be trying Amigurumi again. Although I might actually spend the time to find a pattern and/or basic amigurumi instructions.

04 February 2010

Gryffindor/Homeschool Spirit Gloves

I made these crocheted gloves for my brother a few months ago. They are Gryffindor colors to go with the hat I made him early (and a scarf for my other brother). I also called them "Homeschool Spirit" because they are the "official" colors of our family's homeschool. Red for the Sacred Heart and yellow/gold for... I forget. It meant something about God's glory.

I made up the pattern for the gloves. Hooray for improvisation and not understanding most crochet patterns!

The only picture I could get of him. Little boys (excuse me... big boys) tend to be camera shy unless they can make ridiculous faces at the camera.

19 November 2009

The Tales of Wire Crocheting

Remember that post a few months ago when I claimed I would never again try to crochet with wire?

Well, I guess I lied.

A few weeks ago I got to see some of the spectacularly amazing jewelry my friend D. made. She had made several crocheted necklaces. They were amazing! So, of course, I had to ask just what she did to make them.

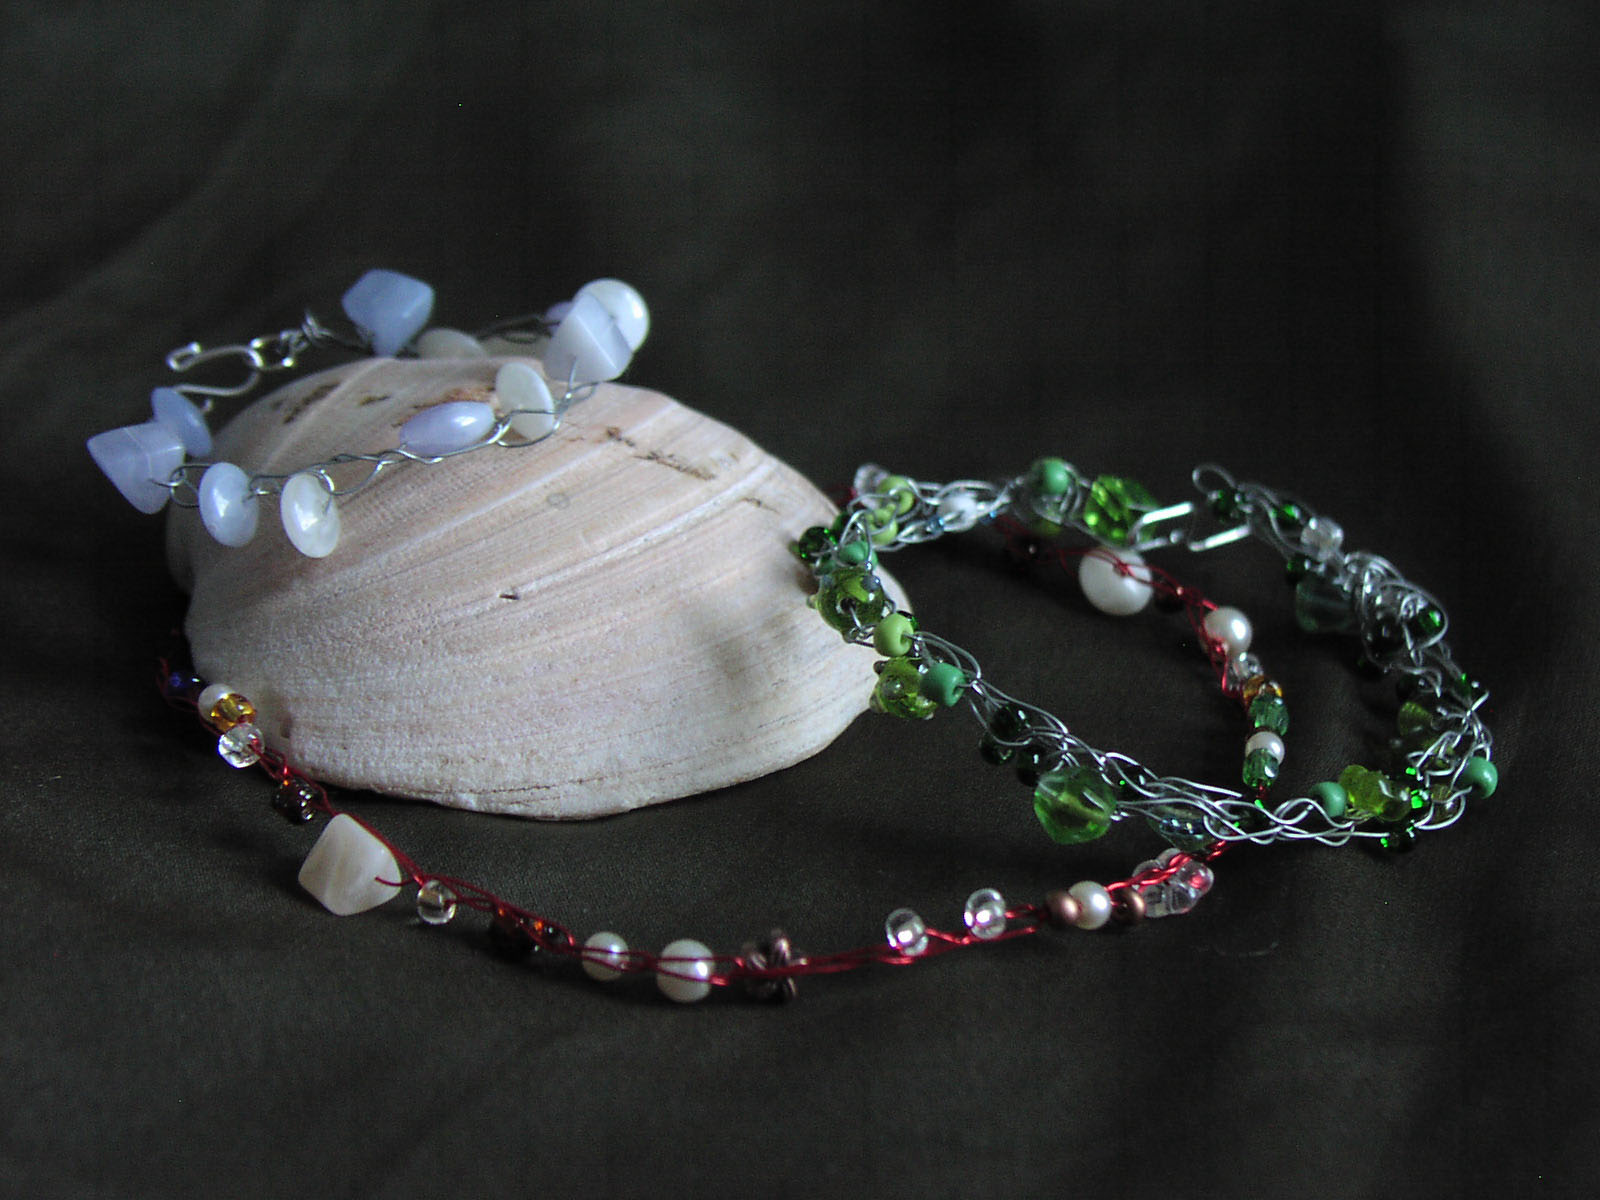
Turns out the easiest way to wire crochet is to string beads onto wire, then chain stitch a length, pulling up a new bead each time you yo over. This is my first attempt at it-- I crocheted two strands and twisted them together into a bracelet.


I think it turned out rather nicely. :) The below picture is the same bracelet, before I smushed the wire together. I definately prefer the smashed together look.

Button, Wire, Ribbon, Beads Necklace

This is another fun design that G. and I came up with! Actually, most of it was her idea. :) My jewelry is normally very delicate, or at least very swirly and sparkly. I was very pleased with this fun, bold design.
I actually did not make this one; G. made it for me. I made one for G. but forgot to grab a picture of it.
The centerpeice is a big button! It was left over from some Christmas projects I made a few years ago (see bottom picture). The ribbon threaded through twisty wire was a nice touch.


19 September 2009

Harder than it looks- wire crocheting


I once heard something about wire crocheting- apparently you can make some really cool things with it. So me being me (and I love to experiment) I pulled out my smallest yarn crochet needle and some floral wire.

END RESULT: My fingers were very sore. My poor needle was dying a slow and painful death from erosion. And I had only finished two rows.

I don't think I'm ever going to try that again.

13 September 2009

Imported from my blog... crocheting!

Guess what I've recently fallen in love with? Crocheting.


The above are pictures of my in my beret. :) It was my second real crochet project. Its so fun! It was also the very first time I used an actual crochet pattern. I used an old 1936 pattern I found online. It is very simple and easy:
Beret

Ch. 3, join in a ring.

Row 1: 6 single crochet in ring. = 6 sc's

Row 2: 2 single crochet in each stitch. =12 sc's

Row 3: *Increase one by working 2 single crochet in next stitch, 1 single crochet in the next stitch. Repeat from * around Row. =18 sc's

Row 4: *2 single crochet in next stitch, 1 single crochet in each of the next 2 sts, repeat from * around row. =24 sc's

Continue to increase in this manner (1 extra stitch in every x, x+1, x+2, etc.) 6 times in each row, until work measures 10 inches in diameter. (You have just crocheted a circle). Work even for 1 inch. Then decrease by skipping every 10th st. in each row until hat fits desired head size. Work 2 rows even. Break yarn and fasten.-Minerva Yarns 1936

 
My brother looks like a mushroom from Mario Brothers in it. :) I had to really twist his arm just to let me take this picture.

 
It didn't take any arm twisting for my brother to wear the hat! He actually stole it off my head. He is so cute!
What was really funny was that I wore it to garage sales this weekend. Some random lady asked if I had made it, and asked me for the pattern!
Mom thinks I should put a pom-pom on it. :P
My sister, of course, had to have a hat, too. As has been the case with most of my projects, I simply made it up as I went along, the result being that it looks very 70's and is lopsided. :) 
She loves it, though.

 
So does Marcus, apparently.
I had made Mr. Harry Potter Fan a Gryffindor scarf for his birthday. Of course, my other brother had to have something, too. So I made him a hat (which takes 1/1,000,000,000,000,000,000,000 of the time, lol) Here is Mr. Harry Potter Fan wearing his scarf and commandeering his brother's hat:
Erm... I'd post the pattern for the HP hat (the others I made up as I went along) but I seem to have missplaced the link... ::)

  • bgbgb