The Long Expected Party dance came and went in a flurry of beautiful music, tired feet, lots of laughter, and many beautiful costumes.
And now I can finally reveal Laura's outfit and the jewelry I designed for her!
Laura (of
Sew Many Seams-- check out her blog!) created the world's most intricate costume and dressed as an Entwife. You can see more details of her handmade corset and cloak in
this photoshoot.
Right as we were leaving I got a few pictures of the finished outfit:
click to enlarge and see the costume in its full glory!
Just look at her insanely awesome green yarn dreadlocks!
A shot of Laura, and me in the dress that she made for me! Isn't it gorgeous?
.
I haven't had so much fun creating jewelry in a long while! Normally I can't justify my time and the cost of materials to work on intricate new designs, but when I do custom work I have a very good excuse. :) Laura had a few very specific ideas but left most of the designing completely up to me.
I doodled three or four pages of ideas in my sketchbook. Here's the circlet design page. This is the only "draft" I had to do for the headpiece, and I'm a little bit overly proud of it. :)
For those of you who are wondering how I go about drawing jewelry, I normally don't unless it's for custom orders or insanely complex. This project was both-- and the circlet in particular. I pictured it in my head for several days, mulling over ideas and lines and shapes and colors. I knew it was going to be a braided base, so that was the first thing that I drew. (Now that I have an intuitive feel for basic Celtic knotwork, drawing braids is super easy!) Then I added the details, changing a few things here and there when it looked funny on paper. The finished drawing-- and the finished product-- wound up being remarkably similar to what I pictured in my head.
On the bottom you can see the specifications she had-- tree-like, braided copper circlet with leaves and pinecone flowers.
Both Laura created Pinterest boards (
here) with inspiration-- this was very helpful because she had so many wonderful and detailed ideas that I had a hard time understanding in writing.
This post is going to be something of a photodump, so I apologize to anyone with a slow internet connection-- it will take a long time to load. :)
I'm rather proud of these new designs and wanted to get good photos to show them off! I am always more than happy to make custom jewelry and I can create similar pieces to the ones shown below. Everything but the circlet would be in the $10 to $30 range.
Many thanks to my friend M. for coming over and modeling for me last minute. It was very last minute-- I called her up the day before the jewelry had to be shipped. The conversation went like this:
Me: Hi M, *frantic babble* jewelry *frantic babble* need good pictures *frantic babble* last chance
M: ?
Me: *blahblahblah* model *blahblahblah*
M: Um, ok?
Me: Are you free this afternoon? (I was calling in the midafternoon)
M: You got it! Give me five minutes to change and I'll be right over!
(See what I mean about how awesome she was about this?
And now I have great photos for my portfolio!)
This circlet is made from thick braided copper wire. I nearly killed my fingers making it-- I forgot to order
dead soft wire and instead got
half hard, which is not easy to bend when you are wrangling six three-foot strands around a vise!
There are around twenty five or so Czech glass leaf beads in sundry shades of green and iridescent periodot. I also used a few Swavroski pearls.
The pinecone flowers are Laura's idea, and the pinecones are from her yard! I'd never heard of this technique before, and they were so easy to make. All you need are pinecone "leaves" ripped off the cone, hot glue, lots of time, and shellac (I didn't have shellac so I used potter's glaze). I added a few touches of my own, namely the beads. I should do a tutorial...
You can't tell from these pictures, but the structure of the circlet's back is very complicated. Laura made yarn dreadlocks for her costume, so I used elastic cording to attach the biggest pinecone centerpiece to the edges of the circlet in the hopes that it would stretch to the right size. (It did!).
There are also several strands of chain dangling in the back. The center one has some beading in there.
I ran out of thin raw copper partially through this project (just look at how much wire is needed for this little bit of the circlet!), so I'd like to send a shout-out to UnkamenGifts for mailing me more last minute.
The circlet, modeled by my beautiful friend.
Since M. clearly does not have on thick faux dreadlocks, the circlet hangs low on her head.
This is a torc necklace, also made of raw copper and glass beads. Someday I want to learn to solder and to get a torch for melting copper (our propane one is too weak)... I think that this turned out very well and extremely sturdy with wirewrapping, but it would be neat to experiment.
Sidetrack over. :) This is made with thick wire recycled from remnants of one of my dad's old electrical projects. I shaped it and then hammered all the wire to make the necklace very sturdy. A bit in the back was left unhammered an
d soft so that it can stretch a little bit so that it can be slid around the neck. It's not like the torc necklaces that Wikipedia talks about:
A torc, also spelled torq or torque, is a large, usually rigid, neck ring [pennannular, forming almost a complete ring with a hole in it] typically made from strands of metal twisted together. The great majority are open-ended at the front, although many seem designed for near-permanent wear and would have been difficult to remove. [...] The Celtic torc disappears in the Migration Period, but during the Viking Age, torc-style metal necklaces came back into fashion.
The bottom bead is removable, since I wasn't sure how low Laura wanted the necklace to hang on her neck.
An upper-arm cuff with thick raw copper hammered to be sturdy. It's adjustable, and quite small because Laura is very slender.
A couple of adjustable rings.
Rings for nearly every finger!
I'm not sure what to call this (although a friend recommended that I name it "Awesome," heehee!) It is a swirly bracelet cuff that attached to a ring with a strand of beading. Kind of sort of like a handflower or slave bracelet, but not really...
The beading is attached with a removable hook, so the cuff can be worn on its own.
The cuff can be worn on the wrist (as shown to the left) and is long enough that is can be caught up in one of the adjustable rings and wrap around the fingers like a vine. Or, the bracelet cuff can be worn higher up the arm (above). Laura removed the green wirewrapped leaf and wore the cuff on her wrist without it wrapping over other fingers. (I hope that this makes sense and that I am not just rambling!)
This vine-like necklace was so fun. It's made with reversible beads and a ton of wire! The entire back just has strings of wirewrapped beading-- it was designed to go with the choker-length torc necklace and having leaves around the back of the neck would overwhelm it.
I like this technique and plan on experimenting with it for bracelets and more!
Fairy sandals, also known as foot thongs or barefoot sandals! These are so fun, but it was hard to size things properly so that the ankle width and length were right. I used a bit of elastic cord on the toe, but I tend to avoid that stuff as much as I can and the rest is beading wire and jump rings! I've got it all figured out now, and look forward to having the time to sit down and make some more.
This is a decorated ear cuff with two removable and interchangeable dangles!
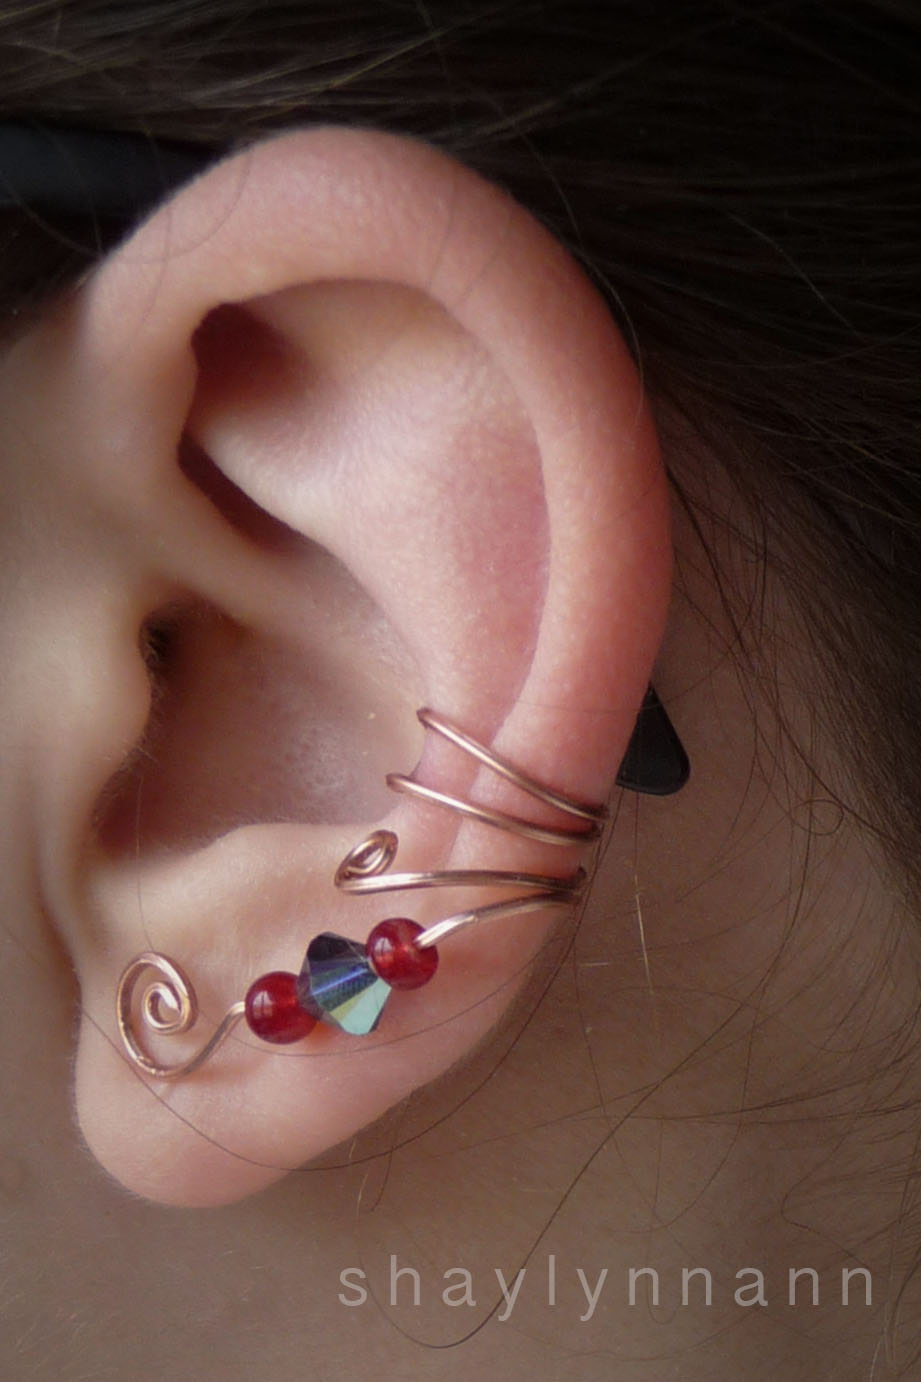
Last but not least, a cool ear wrap (and a small ear cuff). This is not an original idea-- as much as I wish it were!-- and was inspired in part by Thyme2Dream and SunnySkiesStudio.
Making this set was a wonderful experience and it has really pushed my wirewrapping skills! I can't wait to work on more jewelry like this. :) Which is your favorite piece?