04 March 2012

{ explore }


My little sister and I went exploring in the park just a little ways beyond our neighborhood. The glorious thing about warm winters is that the temperature is too cold for plants like poison ivy to survive, while still being pleasant enough to go exploring in the lands usually walled off by fortresses of said poison ivy.


We found some beautiful, startling greens and blues in the middle of the brown forest.


My sister is a good photographer, isn't she? (Note that I'm not posting the blurry ones...)


We both agreed that the creek was like a dreamy fairy river.


I love fancy little girl shoes with lacy socks. (She was still in church clothes).


But most of all, I loved watching her little gymnast feet flouncing across vivid periodot moss.


She wants to make a fairy costume and go out for a proper photoshoot sometime. I full-heartedly agree.


And this is my latest photography adventure. :)

28 February 2012

A Post With No Name


This week is my midterm exam week in every subject except for German... I'm taking a break from blogging, crafting, and drawing to focus on school.

And every moment that I'm not studying I'm going to be working on Ink and Fairydust.
I hope you'll forgive my absence from the blogging world this week! I do have some pretty cool art projects that I'm partially through, and I can't wait to finish them and share them with you!

Before I leave you to go drown in textbooks I just wanted to share this picture from my bedroom. Because everyone has a book clock, porquipine quills, green wrought iron, and a cloche hat sitting ontop of their dresser. At least this is better than a post with no picture!

25 February 2012

Ad Space

(if you are getting to this page from my sidebar button, I plan on writing up a new ad space page soon, as some of this info is outdated. -Shaylynn 01/02/13)

I am pleased to start offering affordable advertising space here on the Faerie Blog!


I love to help support small businesses, artists, crafters, bloggers, etc. :)

 The first few advertisers can get a special price of $5 for two months. The ads should be 125X125 pixels. Just email me at shealynnsfaerieshoppe@gmail.com! My preferred payment method is paypal but I'll give you more details via email.

 Each month I will do a post featuring the sponsors.

I mostly blog about art, crafts, fantasy, tutorials, geekiness, jewelry, and whatever else strikes my fancy. (Mostly art and crafts, though.)

Please note that not all products or services are applicable or appropriate for the my blog and I reserve the right to decline anyone this service.


I've been pondering this decision for a while. Some of you may have noticed the ads that ran on my sidebar for the last month. Those were the sponsors from my big giveaway extravaganza. You can see them all at the bottom of this post.

The truth is, I spend a couple hours (several hours... too many hours) each week working on new craft projects, taking photos, editing photos, writing, networking, and more for this blog. I've made a bit of income with my Shoppe, but honestly I keep things at such decent prices there that I've never been able to "pay for" any of the time that I spend doing all this stuff. :) 

Additionally, and most importantly, I just discovered that I've used up almost all my free image hosting space. This means that I'm going to have to start paying out of pocket to bring you all the tutorials, crafts, artwork, etc, that I regularly blog about. I'm a teenager who doesn't have a job (yet) and simply can't justify spending my money on that. And so...


Since my blog has gotten quite big (by my standards at least!) over the past few months, I feel that I am finally in a position to offer advertising space!

I've been looking around at other bloggers, and many who have much smaller bases than mine are charging much more for advertising. I'm going to be upping the price to a more common $5/month or maybe $10/month soon, so the special price I mentioned above is a special price.


And now for some stats:
Last month I had just shy of 21,000 pageviews.
Currently I have 279 Blogger followers.
302 people who follow via Feedburner.
334 Facebook followers.


I'm also willing to host giveaways if anyone is interested. I'm going to keep it at a maximum of 2 giveaways a month, though.


And since I seem to always be pressed for time, I'd love it if anyone wants to do a guest post. :) I've had a few guest bloggers in the past, check them out here. (You don't have to have a blog of your own to guest blog). Just shoot me an email with your idea to shealynnsfaerieshoppe {at} gmail.com. I don't bite and will probably say yes.

If you would like to do an advertisement exchange, I'd be open to that... if your blog is about the same size as mine it would be beneficial to both of us.


20 February 2012

DIY Paintbrush Case


I like to have a sturdy case for toting paintbrushes around, and the pencil bag that bent the bristles just wasn't cutting it. However, we had a few of these very boring school watercolor sets hanging around. The paints were horribly mixed up thanks to my four year old brother who likes to paint "dragons and knights" that look like (very messy) splotches of brown.


I decided to recycle them into something cute and useful! I made a tutorial for you!


YOU WILL NEED
-an old plastic watercolor box
-scrapbook paper
-stickers or other decorations
-mod podge or other decopauge/waterproof glue

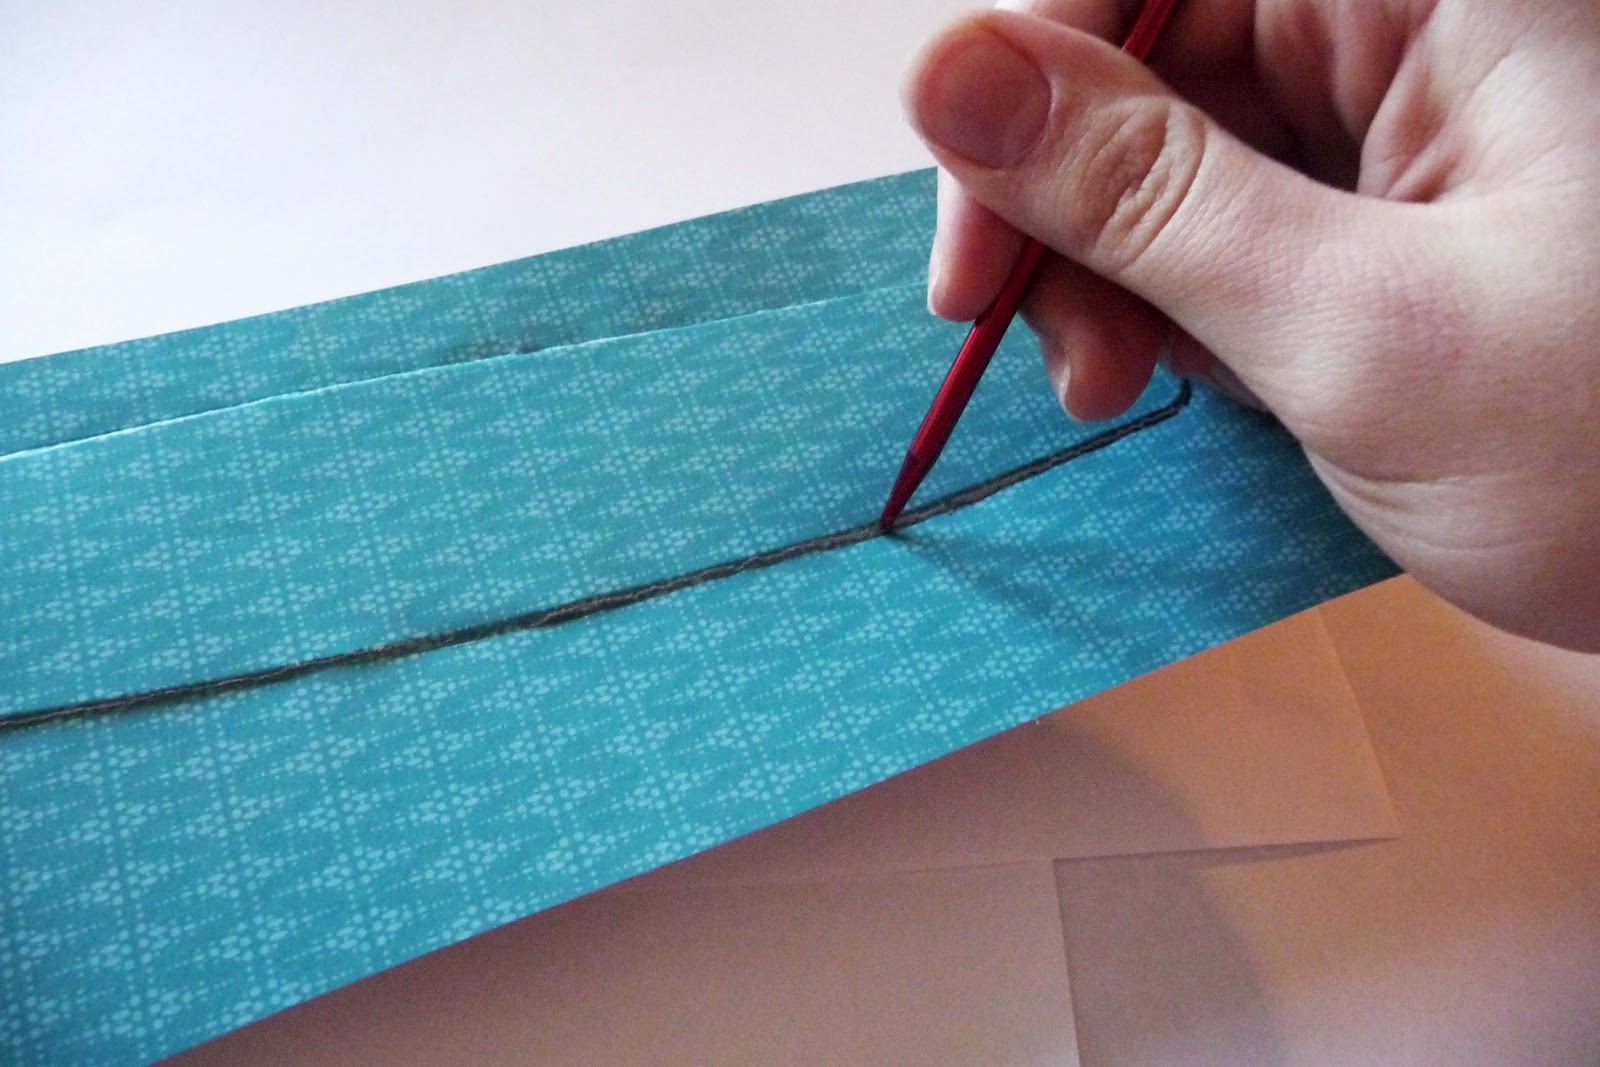
Start by tracing the shape of the raised parts of the plastic box. The top oval shape is raised, so I placed the scrapbook paper ontop of it and pressed down with a knitting needle to get the shape. Then I cut it out.


The bottom of the box is easier, just set the paper ontop of it and rub your finger along the raised lines to trace your shape.


Modpodge the paper onto the box! Use a medium layer of glue and let it dry. While it's drying, attach any stickers or other decoration to the paper. If you use too much glue, bubbles will form under the paper.


Once the inital layer is dry, paint over the paper with a new layer of glue. Make sure that it is thin enough that it doesn't bubble. Wait 10 minutes and apply another coat. If you plan on having your paintbrushes around water (and who doesn't?) you want the paper to be waterproofed.


I made the first box months ago, and you can see that it has served as an emergency mixing palatte a few times. :)


The boxes hold all my paintbrushes except for the three big thick ones.


Here's a sneak peek at my painting tools. The left box has my old brushes that I got when I was 10-14 or so. I've worn them to death and most of them are pretty much useless. But good paintbrushes are so expensive that I keep using them anyway. :P The right box has my new fancy brushes. They're gifts from my parents and art teacher and they are my go-to for nice paintings.

If you use this tutorial to make your own paintbrush case, please leave a comment! I'd love to see it. :)

17 February 2012

Ink and Fairydust Website


Please go visit the new and improved Ink and Fairydust website! I completely redid the design from scratch! It's far from perfect and will be seeing many more changes in the near future, but don't you think it's an improvement?

There were a couple of points where I felt like chucking things at the computer and giving up entirely... *grumbles about how unintuitive HTML and CSS are*  I talk to inanimate objects when they are being rude and objectional and uncooperative, and I'd imagine that anyone walking into the computer room would think I'd gone crazy.


Many thanks to Veraprise Inc/Chesterton Press for hosting our website, and to Mr. Andrew for helping me through a caching problem!

15 February 2012

A Very Wordy Heart


Happy Valentine's day, dear blog readers!

(A day late because I was hard at work on school and non-computer, non-crafty things yesterday. And having a lovely talk with a friend in which we discussed accents and other brilliantly absurd things.)


I'm so grateful to you for reading my blog. I do a lot of rambling here on my blog, and it's nice to know that other people are crazy and awesome and artsy, too!


Thank you so much for all the encouraging comments you leave and for being so wonderful!


And this is my attempt at making a little Valentine for you..

13 February 2012

DIY Book Page Bow { Tutorial }


 I did not come up with this idea. I'd like to thank How About Orange, for sharing the tutorial for making a bow out of an old magazine. All I did was apply this concept to the whole I-love-cutting-up-old-unloved-books thing that I'm obsessed with. :)

You Will Need
scissors
tape
staples or glue dots


Use glue dots or staples.


A beautiful, DIY book page paper bow! It is a lot of work, and it's not the best idea for quickly decorating the whole batch of presents under the Christmas tree, but this would be the perfect, unique touch on a special gift for a friend.


This was my first bow; it's not perfect. But it's cute. I made this back in December but the photos got buried and I forgot to post it.

You can see this DIY gift bow on the bookish Christmas tree that I made into a "Christmas card" for my blog:


  • bgbgb